Making folders on the iPad is easy, whether you choose to do it directly on the device or through iTunes. Folders are useful because you can put a dozen or so apps in them, and thus better organize your screens. If you download a lot of apps from the App Store and want to sort them out into categories to be able to quickly access them later, then you should definitely use folders. Keep reading to find out how to make folders on iPad. 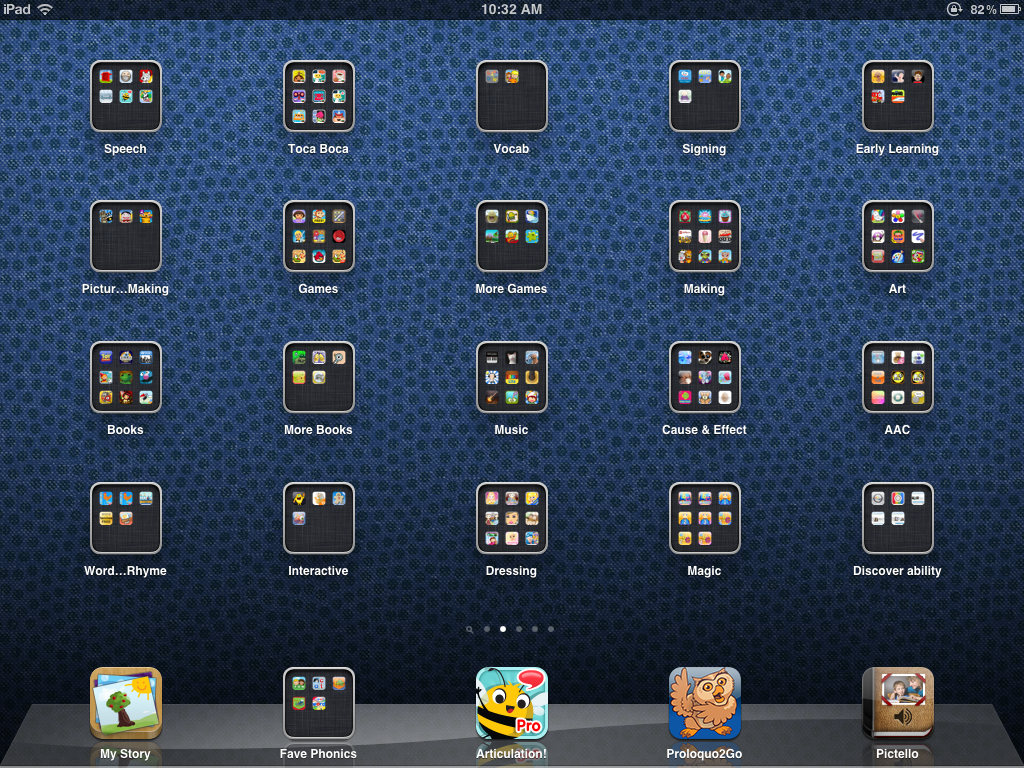
- Touch and hold any app icon on the home screen until all icons begin to wiggle.
- Keep your finger pressed on the icon and then drag it over a new app, around which a dark square should appear. To create a new folder, drop the icon you’ve dragged over the icon beneath it. The new folder will contain both apps.
- Choose a name for the new folder by touching the title bar and typing a new name. Or you can leave the default smart name iOS assigns to the folder. The default name will be based on the apps the folder contains.
- Add more apps to the folder by simply dragging and dropping them into the new folder you have created.
- Access the apps in the folder by tapping the folder. To quickly leave a folder and return to the home screen, press the iPad Home Button.
- That’s it. Now you know how to make folders on iPad. It wasn’t too hard, was it?
To delete a folder on the iPad, touch and hold the relevant folder until the icons wiggle, and then touch the folder again to see the apps. Drag the wiggling apps onto the home screen, or delete them by touching the black circle in the corner of the icon. Once you move all apps back to the home screen, the folder will disappear.
Now that you know how to make folders on iPad you can better organize your apps. Using folders can help you access the apps you use most frequently with greater ease, increasing your productivity.
Expand Your Knowledge:
 How to Make Folders on iPhone
How to Create Folders on iPhone
Awesome iPad Design Apps for the Creative iPad Lovers
iPad Mini 2 and iPad 5 to be Released Without iOS 7
How to Choose Between iPad and iPad Mini
iPad Magazines
iPad Use in the Classroom
How you can use iPad Pillows
iPad Antivirus
How to Add Contacts on iPad
How to Make Folders on iPhone
How to Create Folders on iPhone
Awesome iPad Design Apps for the Creative iPad Lovers
iPad Mini 2 and iPad 5 to be Released Without iOS 7
How to Choose Between iPad and iPad Mini
iPad Magazines
iPad Use in the Classroom
How you can use iPad Pillows
iPad Antivirus
How to Add Contacts on iPad
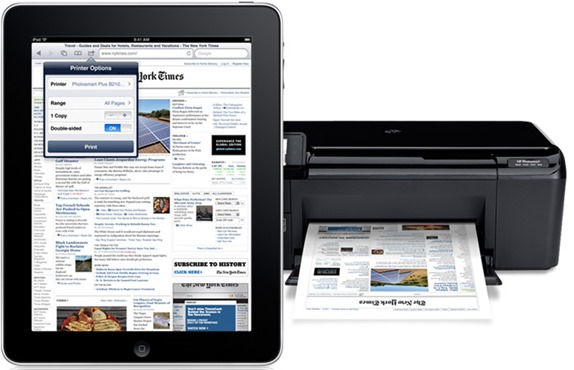 How to Set Up Printer on iPad
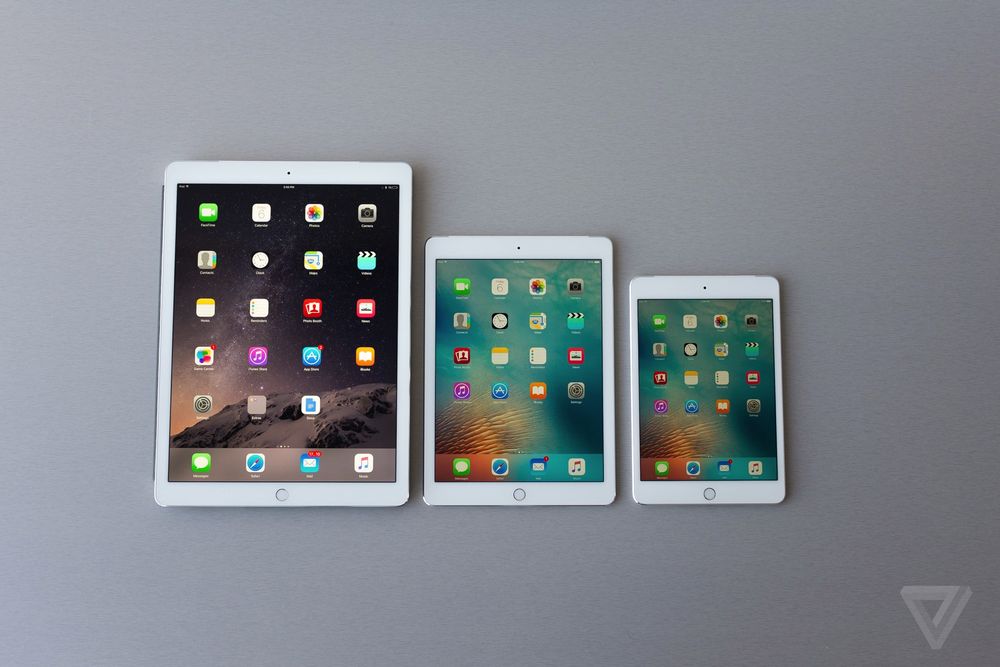 iPad Pro Review