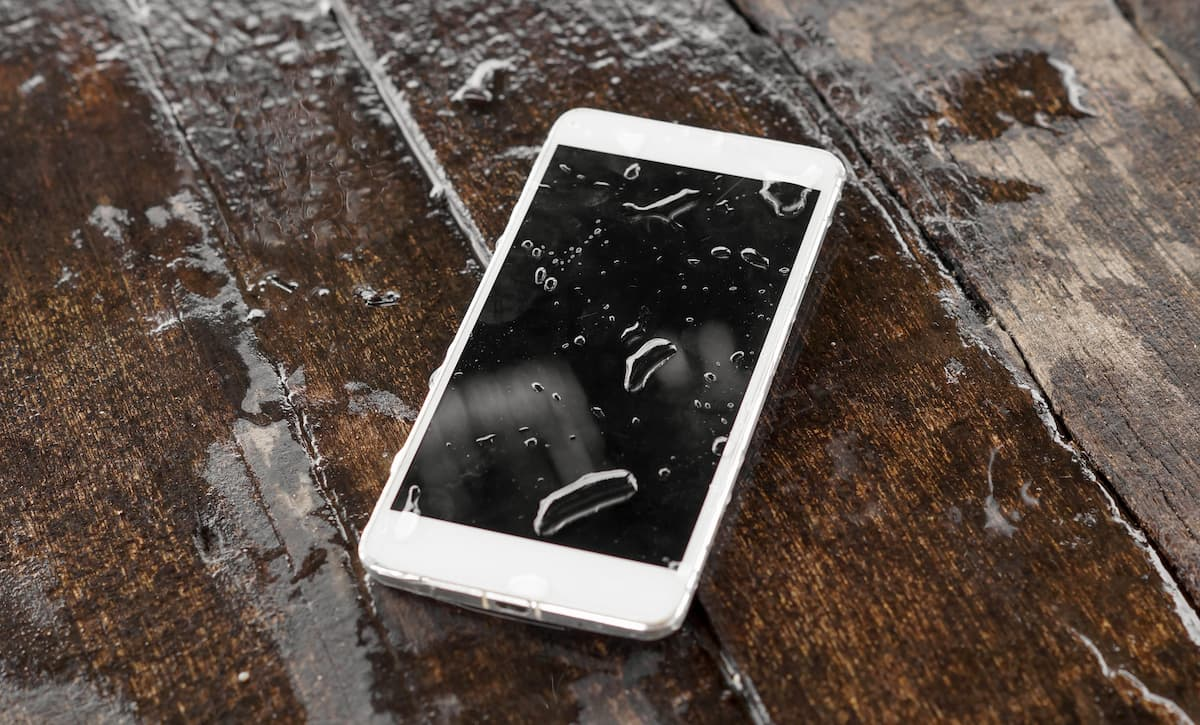
Accidents happen, and one of the most common mishaps with iPhones is water damage. Whether your phone fell into a puddle, sank, or got caught in a rainstorm, quick action is crucial to increase the chances of saving your device. In this comprehensive guide, we will walk you through the steps to repair an iPhone that has suffered water damage and increase the chances of restoring it to full functionality.
Step 1: Act Quickly
Time is of the essence when it comes to water damage. The first and most crucial step is to remove your iPhone from the water or liquid as quickly as possible. Turn it off immediately to prevent any short circuits.
Step 2: Do Not Power On
Resist the temptation to power on your iPhone to check if it’s still working. This could cause further damage to the internal components. Instead, proceed with the next steps to ensure proper drying.
Step 3: Remove Excess Water
Gently shake your iPhone to remove any excess water from the charging port, speaker grilles, and other openings. Avoid vigorous shaking, as it may push water further into the device.
Step 4: Dry the Exterior
Use a soft, absorbent cloth or paper towel to pat dry the exterior of your iPhone. Make sure to be gentle and avoid applying pressure to the screen or buttons.
Step 5: Remove the SIM Card and Case
Take out the SIM card tray and remove any phone case if you had one. This will allow air to circulate more effectively during the drying process.
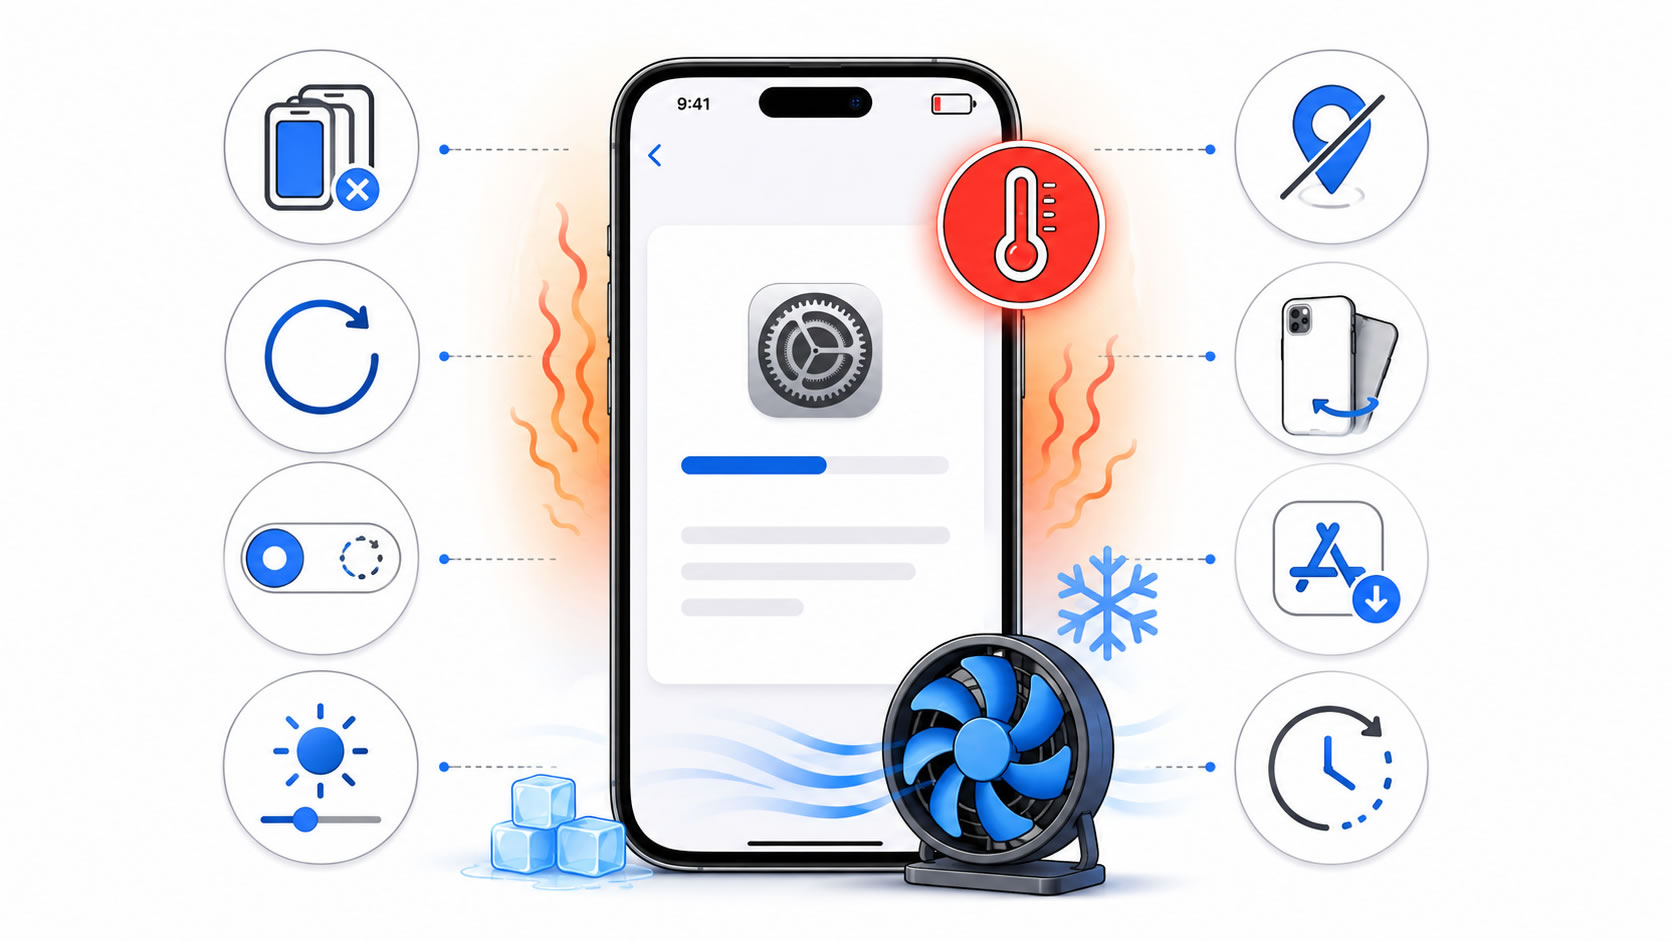
Step 6: Do Not Use Heat
While it may be tempting to use a hairdryer or place your iPhone near a heater, avoid using heat sources to dry the device. Excessive heat can damage the internal components and may worsen the situation.
Step 7: Use Silica Gel Packs or Rice (Optional)
Silica gel packs or uncooked rice can help absorb moisture from your iPhone. Place your iPhone in a sealed container or a bag with these moisture-absorbing materials. While this method is not as effective as professional solutions, it might help in some cases.
Step 8: Leave the iPhone to Dry
Let your iPhone sit in a dry, warm environment for at least 24-48 hours. Avoid turning it on during this period. Leaving your iPhone in an upright position with the charging port facing downward can help any remaining water drain out.
Step 9: Test Your iPhone
After the drying period, insert the SIM card and attempt to power on your iPhone. If it turns on and works as usual, congratulations, you’ve managed to repair your iPhone water damage!
Step 10: Seek Professional Help (if needed)
If your iPhone does not turn on or exhibits unusual behavior, it’s time to seek professional help. Contact Apple Support or visit an authorized repair center to assess the extent of the damage and explore potential repair options.
Preventative Measures for Future Incidents
While accidents cannot always be avoided, taking some precautions can help protect your iPhone from water damage in the future:
- Invest in a waterproof or water-resistant phone case.
- Avoid using your iPhone in extreme weather conditions or near water bodies.
- Keep your iPhone away from liquids, drinks, and sinks.
- Regularly back up your iPhone to ensure your data is safe, even if the device suffers water damage.
Conclusion
Dealing with iPhone water damage can be stressful, but quick and proper action can improve the chances of saving your device. By following the steps outlined in this guide and acting swiftly, you can significantly increase the likelihood of repairing your iPhone and getting it back to full functionality. Remember, prevention is the best approach, so take precautionary measures and avoid exposing your iPhone to liquids whenever possible. If all else fails, seek professional assistance from Apple or an authorized repair center to explore repair options for your precious device.
Expand Your Knowledge:
 How to Keep your iPhone Battery Healthy
 How to Download a Ringtone on iPhone
 How to Disable Find My iPhone
 How to Deactivate SharePlay on Your iPhone
 How to Bring the Screen Down on iPhone 6s
 How to Unlock iPhone Passcode without a Computer
 How to Stop Emails Going to Junk on iPhone
 How to Improve iPhone Battery Life
 How to Download Offline Maps on Your iPhone