Almost all companies including Apple send a lot of promotional messages with offers of some products. Apple often displays these ads in the App Store, Apple News, or sends them through emails. Promotion messages are often based on behavioral information. This information includes search history in the App Store and your reading history on Apple News. This article is a step by step guide that teaches you how to stop these unwanted messages.
Be it an IPad or an iPhone, by following this guide, you will be able to prevent your iOS from sending you promotional messages from iCloud. The procedure is the same on both devices (iPad and iPhone).
Stop iCloud from spamming your iOS
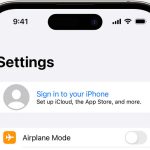
Enter Settings
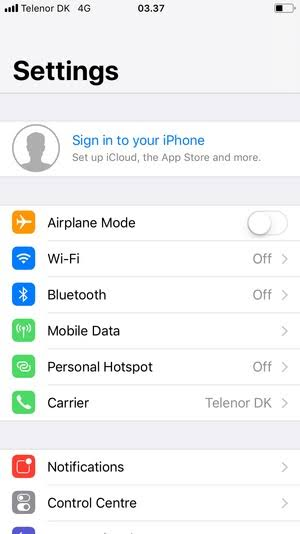
The first thing you have to do on your iPhone or iPad is to enter the Settings application on your device. With it, you will enter the operating system settings.
Click on your Apple ID
Once you are in the settings, you have to click on the Apple ID option which is the one where your name appears at the top. It is the configuration in which you can change things related not so much with the mobile, but with the Apple account that you have in it.
Click on the Name, Phones, and Email option
Once you are in the Apple ID section, click on the Name, phones, email option that will appear first. Once there, you can change everything related to your data.
Disable Ads
Once you are in the Name, phones, and mail section, scroll down to the Subscriptions section. In this section, disable the Ads option. This will make Apple unable to send you recommendations, announcements, and updates. Once this is set, iCloud will no longer be able to send you messages about its products, services, and software.
However, if you’re also looking to disable iMessage on your Mac and iOS, you can follow the guidelines below. The steps below will help receive SMS and MMS on your iPhone alone. This means the total deactivation of iMessage on your Mac.
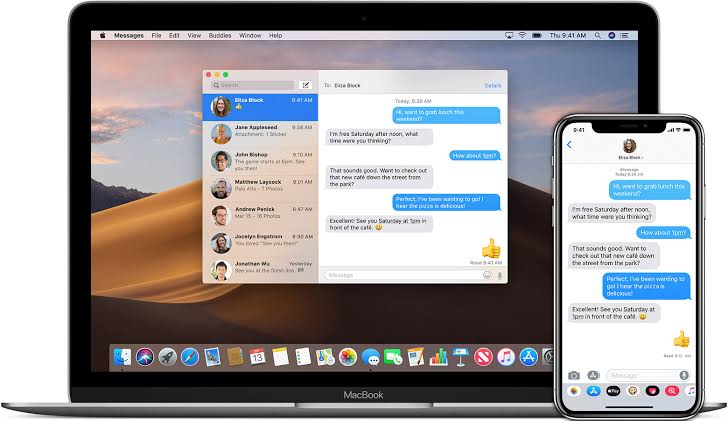
At first, you may find it convenient to be able to receive your texts on all your iOS and Mac devices at the same time. However, you may also find it quite annoying in the end. In this article, we will show you how to disable this option on one or all of your connected terminals. Beyond the digital peace that you will be able to benefit from, you will find that your confidentiality will at the same time be safe.
To disable text and multimedia messages on your Mac, you must first launch the Messages application. This message application is the one you have previously configured on your computer. Use Spotlight or your dock icon for this launch:
Launching Messages on Mac
It will display your preferences from this application through the usual menu:
Messages app preferences on Mac
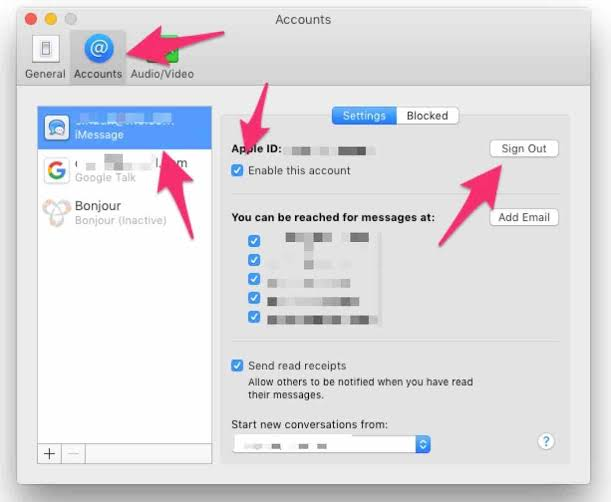
It is under the tab that you will find the list of “lines” attached to this software. You will find the lines that are particularly attached to your Apple / iCloud account. This path is the same under macOS Sierra.
Management of the activation of the Messages account on macOS
Once identified, uncheck the “Activate” box. The identifier will remain pre-registered (as well as your Apple account password ). In this same section, for possible future connection simply check the box relating to the option you have just deactivated. As you can see, it is not necessary to uninstall any application to initiate deactivation. Also, your user account will not synchronize for this setting, which remains specific to each device.
To stop receiving text messages on other iOS devices
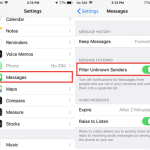
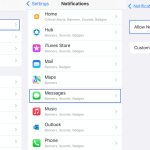
Remember, the primary source for sending and receiving your text messages is your iPhone. It is on this iOS running device that you will get your hands on this feature. This feature allows the management of other devices. Go to Settings on your mobile terminal then go to the Messages section.
Disabling message forwarding
There, choose the send and receive section, then deactivate the devices of your choice. This will prevent it from receiving text notifications and prevent them from ringing (all at the same time!).
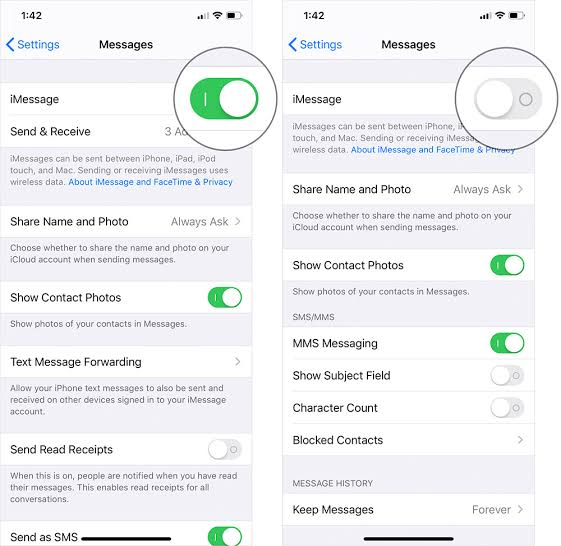
If you continue to receive messages on your devices, disable the iMessage option. These are free messages, which appear in blue. These messages are often delivered to all the iOS devices of the recipients. This is exactly what we want to avoid here!
Keep the connection, but with more privacy
You can keep this system of shared notifications on all your connected terminals. in this way, you can ensure increased privacy. This involves locking the display of messages on your different screens. On Mac, you can enable a quick lock. On your iPhone, you will have to prevent the display of the content of messages on the screen.
Without a doubt, this is the best way to continue to take advantage of this feature. You can now get to keep your messages for yourself and no one else.
Expand Your Knowledge:
 How to Block Text Messages From a Number on iPhone With iOS 7
 How to Stop Emails Going to Junk on iPhone
 How to Stop Push Notifications on iPhone
How to Restore an iPad with iCloud in 5 Simple Steps
How to Stop Push Notifications on iPhone
How to Restore an iPad with iCloud in 5 Simple Steps
 How to Enable or Disable iCloud on iPhone
 How to Transfer Photos from iPhone to Mac Without iCloud
What is iCloud and how you can Benefit from It
iPad Mini 2 and iPad 5 to be Released Without iOS 7
How To Know The iOS Version Of An iPad
How to Transfer Photos from iPhone to Mac Without iCloud
What is iCloud and how you can Benefit from It
iPad Mini 2 and iPad 5 to be Released Without iOS 7
How To Know The iOS Version Of An iPad
 How to Use Point and Speak on iPhone or iPad